
Rice Paper
Hi There!
We have Craftyfield with us
today and she is going to talk
us through some up cycling
to make a beautiful piece of home
decor - to be specific Bathroom
decor......................
"I wanted to decorate this cylindrical box
and give it a feminine feel so that
I can display it proudly in my bathroom.
A quick and easy way is to cover it
with a printed Rice paper (Imagination Crafts).

My "box" is a modest Pringles can so this
works out as a very cheap storage option!
I first gesso'ed the can and chose 3 sheets of rice paper.
In the end, I only used 2
Using a wet paintbrush, draw around
the bit of paper you want to use
and after a few seconds tear the piece apart
from the main sheet.
This way the sides are feathered
which is much more pleasing once collaged.

To glue the paper you can use any type
of acrylic medium, matt or glossy,
or even some of the newer Tim Holtz mediums
such as "Crazing" or "Vintage" to add a little something...
I used a matt medium and applied it
with the purpose built Collage brush.
Alongside the papers, I filled in with some paint and stencilling.
I load my brush with several colours of paint at the same time
to give a stripy look, echoing one of the Rice paper.s
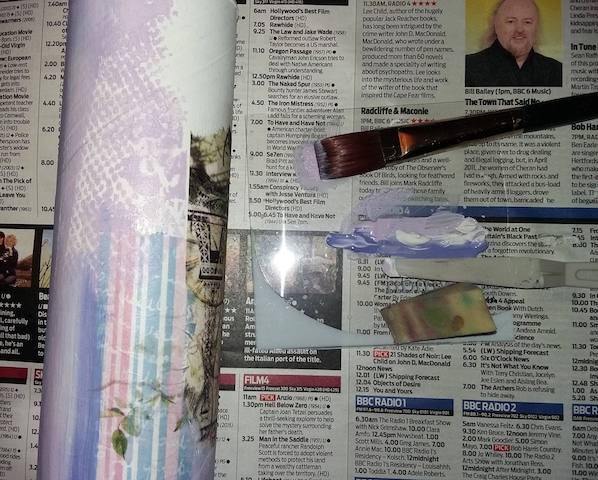
I will be applying a matt varnish,
I love using the DecoArt Soft touch for these projects,
it has a matt aspect and,
as the name implies, a soft feel to the touch.
This is a picture of the finished can, showing all 3 "sides" next to each other.

Had my can been a little bit smaller, I think I might have
just used the paper as is, they are so beautiful, it doesn't
seem right to tear them apart!"
Items used:
Collage Brush:
Fresco paints (Lavender, Dolly Mix and Cheesecake):
Stencil Carabelle Weft Fabric and Numbers:
Tim Holtz Layered Stencils (Wildflower and Flourish) :
Varnish Soft Touch:
Fresco paints (Lavender, Dolly Mix and Cheesecake):
Stencil Carabelle Weft Fabric and Numbers:
Tim Holtz Layered Stencils (Wildflower and Flourish) :
Varnish Soft Touch:
Thank you Craftyfield a lovely way to
get affordable storage colour
matched to your home and you could even
use up any bits and pieces left over from
a previous project.
I love the up cycling aspect of this
project too.
'Till tomorrow
Mickie xx


