Showing posts with label Punch Boards. Show all posts

Friday, 1 April 2016

Pencils - Neil Walker


Morning all,

Hope you are all well and been
enjoying some of the sunshine that
we have been getting down here in 
the south east of the UK!  So nice to 
see the sun and it feels quite warm if
you are out of the cold breeze....
spring is here!!
Ooh and it is the 1st April, April
Fools day.... better watch out!!

So this weeks trivia......who knew
that Wednesday 30th March is
Pencil Day!!  Come on, everyone
knows that!!
Ha ha, so in honour of Pencil Day,
that is what the DT will be bringing
you this week!

Neil is here today -

Neil says....

I love the humble pencil as a medium
 in it's own right; not just something
 to sketch and then add paint over so
 I enjoyed creating this little card box.


Begin by stamping onto white card and
 cutting to size for top, front back 
and two sides of the card holder.


Use a selection of pencils to add shade
 and depth to the design.


Detail shot....


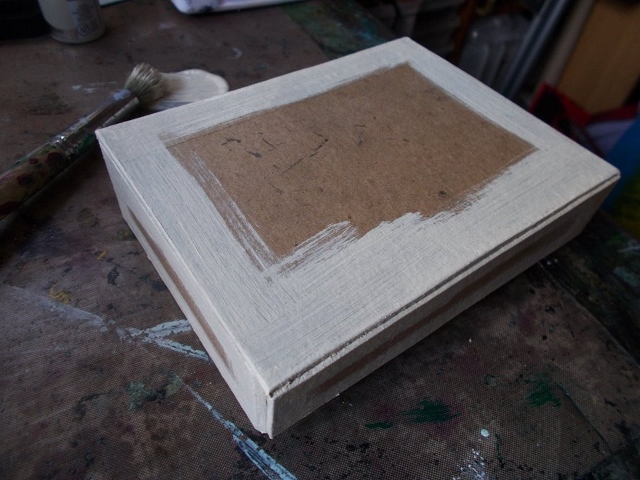
Paint all the exposed areas with Fluid Acrylic
 in your choice. I used Titan Buff.


Use double sided tape and DecoArt 
Faux Finishing Medium to adhere.


Use a soft brush to seal everything with
 the Finishing Medium.


 To finish I added a bow made with
 stamped card, the WRMK Envelope
 Maker and a small tattered flower.


I really love what Neil has done with 
pencils here!  Thank you Neil.

If you want to have a go, this is what 
Neil used -


Well, that's it for today,
see you tomorrow.

Jane x


Saturday, 20 June 2015

Punch Board - Neil Walker


Morning all,

It's the weekend....yay!!

What have you all got planned...hope it's good!

Don't forget it is the longest day tomorrow, just as we are 
getting some nicer weather and longer evenings, we are 
halfway through the year and the evenings will get shorter....
....the days colder....and Christmas will be here again.
Yeuch...horrible thought, I love Christmas but they definitely
get closer together as you get older.

Ok, here is our last project for the week using the 
wonderful Punch Boards, perhaps you will treat yourself
to one....or two!!

It's Neil's turn today.

Neil says -

I do like these Punch Boards as they make it easy to create
 multiple projects making them ideal for party favors and
 batch makes. My favourite has to be the envelope maker. 
As it says; it is designed for envelopes, but today I thought
 I'd share a couple of the other things you can use it for.
(I have a post showing how to make envelopes here if you want


So today, how about bows?


And tabs?


Let's start with the bows:
I've made 2 sizes and to save me having to write it over and
 over again, all measurements are in inches.

So, beginning with the larger bow you need a strip of paper
 10 x 1 1/2 
(I've used plain card decorated with Distress ink and Viva
 stamps though you can use patterned paper too which is ideal
 if you want to match up your project)


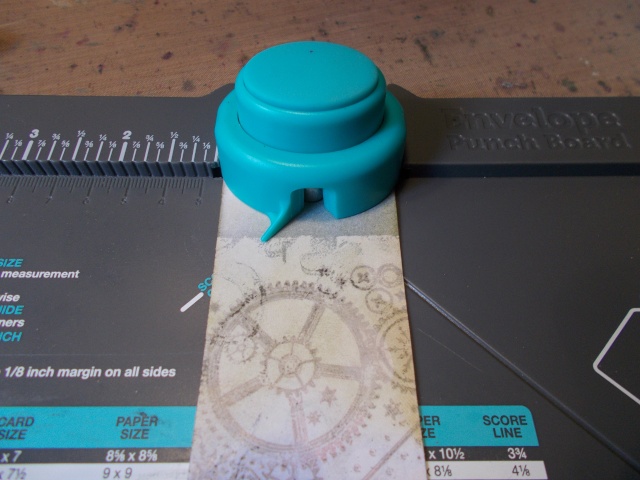
Place the edge of the strip into the punch board and punch. 
Repeat for the other side too.


Line up the strip to the 2 line and punch.


Move along to the 5 and punch.


Flip the card over and repeat the 2 punches to do the
 opposite sides.


Starting from the other side, line up to 2 and punch, flip 
over and punch again at 2.


You then end up with something looking like this.


Use a pen or similar to curve the two inner sections of the card.

`

Fold the other edges up as seen.


Add glue to the back and fold and glue in place as seen.
Repeat for the other side.


Glue the bow to the back with some tape to hold it down
 if desired. 


Add a small flower to the middle to finish off.

To make a smaller bow the process is the same but using a
 1 x 7 1/8 inch strip and punching at 1 1/2, 3 1/2, 1 1/2
 (and don't forget the ends too)


 Here's a couple. I've varied the placement of the ends to
 give a different look.

Then, how about some tabs?

For this I have used 5 x 5 inch card. Once you have got
 the principle you can adjust measurements to create 
different sizes to suit.


So, beginning with a piece of card, place it so the edge
 is on the halfway mark of the punch and punch.


Slide across to the 1 mark and punch.


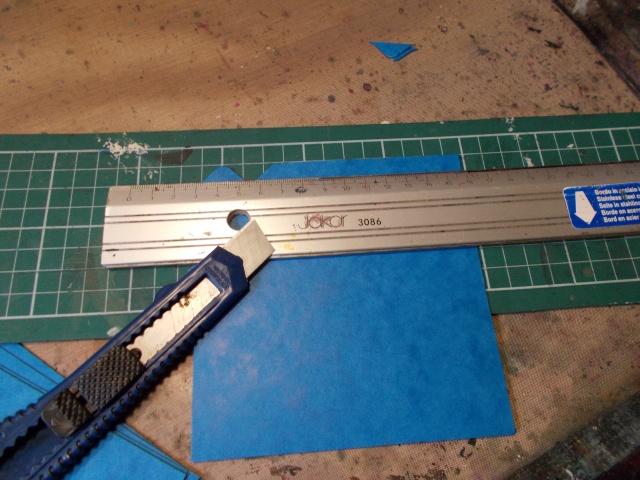
Trim off the section to the right of the tab with a craft knife and 
your first tab is done.


Take a second card and line up the edge with the 1 mark 
and punch, Slide across to the 2 mark and punch.


Trim the edges to the left and right to leave your second tab.

Then repeat with your other cards working in the following order

Card 3 : line up at 2, punch, move to 3 and punch. Trim
Card 4 : line up at 3, punch, move to 4 and punch. Trim
Card 5 : line up at 4, punch, move to 5 and punch. Trim

I did this twice which gave me 10 pieces. I cut two pieces of
 chipboard to size and punched holes. Adding book rings gave 
me a mini book ready to be decorated with tabbed dividers......


Thank you Neil, oh I just love that book, might have to 
invest in these boards myself!

If you want to have a go, this is what Neil used...


Well that's it for another week!
I'll see you tomorrow with our new Weekly Challenge.
Enjoy your weekend.

Jane x

Friday, 19 June 2015

Punch Board - Elizabeth Hammond


Morning all,

Hope you are having a nice warm, sunny week wherever
 you are!
I'm hoping summer is arriving here in the UK at last but
 who knows could be snowing here tomorrow!!!
Hope not.

Ok today we are bringing another fabulous project using 
Punch Boards by our guest designer 
Elizabeth Hammond,
those of you who visit the shop or phone will, I'm sure 
have spoken to her!  
Elizabeth has created a beautiful gift bag for you -


To make Elizabeth's bag.....

Cut the Maja Design Paper to 6" x 12" to make the base of the
Gift Bag and follow the instructions printed on the Punch Board
to make the medium sized bag...


Punch holes along the top of the bag using the reverse side of
the board so you can create the handles....


Crease the score lines with the score tool and use Stix2
ultra clear tape to stick the bag together....


Using the Sue Wilson Camelia dies, cut the two layers of the
flowers in different colours from Coredinations card.....


Layer and glue the flowers together in coordinating colours, then
shape the flowers using the handle of your scissors
 or a shaping tool....


Cut some leaves in the two shades of Coredinations card.
Layer and shape them in the same way as the flowers.


Arrange the flowers and leaves on both sides of the bag and
 stick with tacky glue.....


Thread the ribbon through the holes and cut to the length of
the handles you require.....


Finished !!


Isn't that just lovely, wouldn't you be over the moon to 
receive that, no matter what the gift was inside!

This is what Elizabeth used -

We are Memory Keepers Punch Board - Gift Bag
Maja Design 12 x 12 Nyvan - A Dockside in Bloom
Coredinations 12 x 12 -
Buttercup, Amaryllis, Purple Moon, Blue Lilac,
Persimmon, Apple Green, Celery Stick
Organza Ribbon 7mm -
Gold Beige, Baby Blue, Baby Pink, Lavender
Sue Wilson Dies - 
Camelia Flowers - Open Petals, Complete Petals
Stix2 Ultra Clear Tape - 12mm
Cosmic Shimmer PVA Glue - Dries Clear
Paper Trimmer 
Scissors
Big Shot Die Cutting Machine


Thanks to our Guest Designer Elizabeth!

Ok, I'll be back tomorrow with another 
project, this time from Neil!

See you then,

Jane x