Friday, 20 January 2012

Card mechanics week: Scroll card

Hi, 
If you thought I posted many pictures yesterday, wait until today's post!! Michelle is spoiling you here with not only a gooorgeous project but tons of details. I hope she gets tons of comments because she truly deserves it ;)
She made a beautiful "scroll card". I had never seen one of these before but I might try it!


Grab a small box and some paints, the TH alterations box is perfect.

Paint the box with Eco Green Crafts - Acrylic paint

When dry paint with a thick coat of Viva Croco Paint: transparent

Measure the width of the inside of the box (here 38mm)

Cut a piece of thin card 38mm off the long side of an A4 sheet. Stamp the LaBlanche silicone stamp: 2 meadow stamps along the bottom of the card strip then brush TH Barn Door, Broken China and Mustard Seed Distress inks along the sky area of the card.

Colour the grass and flowers in the image and stamp a message along the card using a mini alpha stamp set. See Go Kreate - Rome alpha stamp

Pierce two holes in both long sides of the box, large enough to hold a barbecue skewer

Push barbecue skewers through the holes and trim to size. Stick wooden beads on each end of the skewer using glossy accents.

Adhere one end of the card strip to the skewer using PVA glue, hold in place till set and leave to dry thoroughly.

When dry roll the card onto the skewer using the beads to move the roll.


Repeat at the other end of the card and roll up the scroll until it's fairly closely rolled.

Cut and score a piece of heavy card to fit the box.

Decorate with patterned paper as desired.

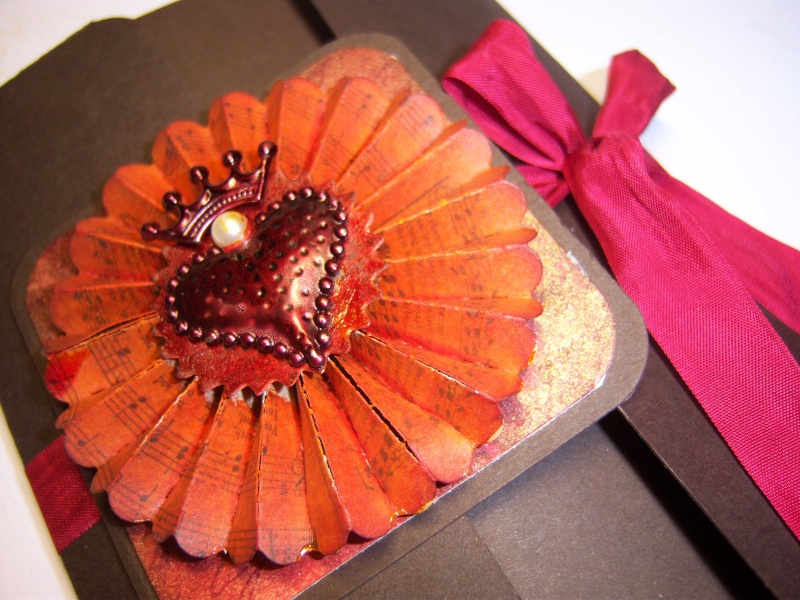
I finished the gift card off with a Tando Dove a bit of ribbon, a flower and a sentiment, all finished with a quick rub of rub and buff.
Material used

Tim Holtz Configurations: 6.75 x 8.75
Eco Green Crafts - Acrylic paint: Moss
LaBlanche silicone stamp: 2 meadow stamps
Distress Inks: broken china, mustard seed, peeled paint, Barn door, 
Versafine ink pad - black
Sakura SoufflĂ© pens: orange, white, pink
Rub 'n Buff: Autumn gold

See you tomorrow

Thursday, 19 January 2012

Card mechanics week: foldy book thingy

hello :)
Here we are again, with a funny name... Today you will be shown how to make a "foldy book thingy". This time, I did not come up with the name. This is how Linda called her project.
Lots of pictures and very informative step by step coming up. So grab a cuppa and off we go...


I love making this card ... it looks fiddley ... but trust me ... once you have made one ... everytime you need a special card or a keepsake ... well you will be hooked.

Cut four pieces of card 8 ¼” by 5 ¾” and score all four pieces of card 2 1/16” from each end to form a tri-fold.

On one piece score again at 1 7/8“ from each end to form a mini spine.

Line all the corners up and round them off ... 

Cut a further piece of card 8” by 5 ½“ and score down the middle and round all four corners.

Line the three tri-fold cards up and tape the middle flaps to the outer two cards so you now have a long card.

On your spined card make holes at 2 ¾” and 3 ½” approx ¾” in from the spine on each side with your favourite hole punch tool.

Now cut a straight line from each edge of your circle to form a slot.

Feed a piece of ribbon through the slot that is long enough to go around the card and tie.

Adhere the back of the middle part of your long card to cover the ribbon part of your spined card.

Adhere your final card to the front of the middle part of your long card to form an insert.


Decorate as desired!


Materials
PaperArtsy: HP1009
Distress Stains: Fired Brick; Spiced Marmalade; Mustard Seed; Barn Door
Distress Ink: Walnut Stain
Perfect Pearls Mist: Heirloom Gold
Idea-Ology embellishments


See you tomorrow

Wednesday, 18 January 2012

Card mechanics week: secret pull

Hi, 
You know what's the tricky part for me this week, is to find a name for all those unusual cards the DT have made for you. When I was looking at the pictures (back stage), I was like "OMG, how on earth did she / he think of that".
Here's a "pull thingy" one with GIO... stunning work... 
Who's going to give it a go? 
If you are, please don't forget to share it with us! 


I made a masculine birthday card, recycling a glue dots box : I think a guy can enjoy a card with a mechanism inside.

1- I cut a long stripe of paper from an A3 sheet of copy paper. I gessoed it with Claudine Hellmuth gesso.
I glued to it pieces of torn book page with Claudine Hellmuth Multimedium Matte. 
2- I stencilled the background with Tando Masks: Cogs group and TH Distress Ink Tea Dye.
3- I stamped the word 'Happy Birthday' with Crafty Secrets: Artsy Alphabet and TH Distress Ink Black Soot . I added some little swirls from the same Alphabet stamps and I distressed the edges with TH Distress Ink Tea Dye


4-I prepared the mechanism: I cut a pencil with a knife, the length is equal to the box plus 1 cm on both sides. I coloured the Pencil with TH Alcohol ink Pitch Black 
5-I made two holes on both sides of the box, large enough to slip the pencil inside.
6-I black gessoed the box with Claudine Hellmuth black gesso. 
.


7-I gessoed a piece of book pages. I cut two gothic arches. I stamped one with a text with Stampers Anonymous - Just thoughts stamp, and the other one with some swirl from the Alphabet stamps using TH Distress Ink.
8-I cut this arch in two and I glued two hinges. I glued one arch to the front of the box, and I attached the two little doors with a brad to the box. 
9-The last and trickiest part is to glue the long strip of paper to the pencil: you can open up the box, or you can slip the strip inside the box and glue to the pencil. I attached an eyelet to one edge of the strip along with some embellishments.

Material list
Tando Masks: Cogs group
Viva Pardo jewellery clay: onyx glitter
Claudine Hellmuth Studio - Kit - Mediums 
Crafty Secrets: Artsy Alphabet 
Stampers Anonymous - Tim Holtz: Just thoughts
Tim Holtz embellishments: Game spinners


See you tomorrow