
Here we are again, with a funny name... Today you will be shown how to make a "foldy book thingy". This time, I did not come up with the name. This is how Linda called her project.
Lots of pictures and very informative step by step coming up. So grab a cuppa and off we go...
I love making this card ... it looks fiddley ... but trust me ... once you have made one ... everytime you need a special card or a keepsake ... well you will be hooked.
Cut four pieces of card 8 ¼” by 5 ¾” and score all four pieces of card 2 1/16” from each end to form a tri-fold.

On one piece score again at 1 7/8“ from each end to form a mini spine.

Line all the corners up and round them off ...

Cut a further piece of card 8” by 5 ½“ and score down the middle and round all four corners.

Line the three tri-fold cards up and tape the middle flaps to the outer two cards so you now have a long card.

On your spined card make holes at 2 ¾” and 3 ½” approx ¾” in from the spine on each side with your favourite hole punch tool.

Now cut a straight line from each edge of your circle to form a slot.

Feed a piece of ribbon through the slot that is long enough to go around the card and tie.

Adhere the back of the middle part of your long card to cover the ribbon part of your spined card.


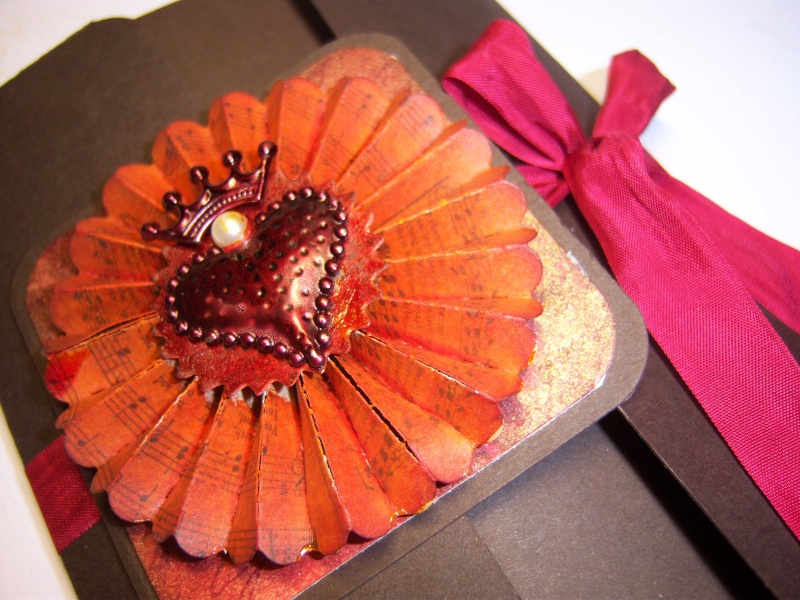
Decorate as desired!


Materials
PaperArtsy: HP1009
Distress Stains: Fired Brick; Spiced Marmalade; Mustard Seed; Barn Door
Distress Ink: Walnut Stain
Perfect Pearls Mist: Heirloom Gold
Idea-Ology embellishments
See you tomorrow

Wow, Linda - this looks very complicated (I'll take your word for it that it's not!) but the result is stunning!!
ReplyDeleteOh Wow another stunning card Mechanics Linda....love this foldy book thingy....need more hours in the day so I can make them all lol
ReplyDeleteThanks for the inspiration
Maggie
Loving this - I can't wait to try it out.
ReplyDeleteGorgeous card, but my brain can't handle all the complication of this week's projects. :)
ReplyDeleteI will certainly try one day !! Thanks a lot for this original and beautiful type of card, and the step-by-step lesson...!!
ReplyDeleteFab book Linda, I'll give it a go, as the finished result looks great. May have to read the instructions a couple of times ;) Judith xx
ReplyDeleteStunning! Not sure I will be much good at the complicated projects myself, but love looking at them!!
ReplyDeletefantastic...love the color combo as well
ReplyDelete