Showing posts with label Paint Brush. Show all posts

Thursday, 9 February 2017

Starlight Express

Starlight Express


Hi Everyone!

Hope you are doing well
Here is a beautiful project
to help brighten your day
from Craftyfield:

 "I'm new to Starlight paints although I'd read, 
seen and heard a lot about how fantastically 
shiny and awesome they were. I wasn't convinced 
they would be very different to other metallic paints.... 

I have to admit I was very wrong. 
They ARE different, in a way which is 
difficult to describe, the photos do not
give a good enough impression and this
is one I would advise you to see for yourself. 

Also, if you can, watch the videos available 
on the Imagination Crafts website, they 

explain the product better than I can.


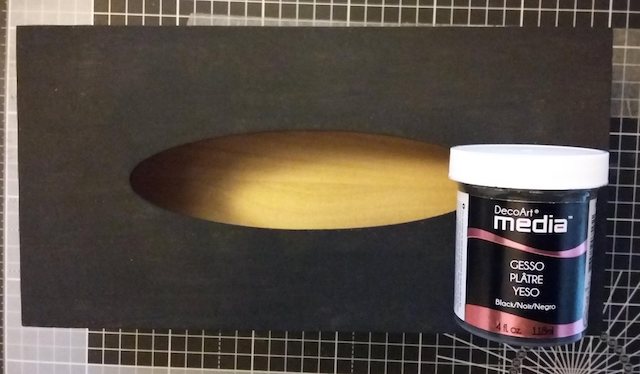
To road test the new paints I used a blank 
tissue box and gave it an Eastern inspired makeover.


 First I gave my tissue box a coat of black gesso. 
The mat look reminds me of blackboard which I thought 
would be perfect to show off the shine of the paints


Then, I applied Starlight in Dark Orchid (purplish colour) 
at the corners fading to black at the center. 
With the flash, however, what you see is mainly 
flashes of silver metal reflecting the light


Next, I used the Starlight in Platinum (I would describe this 
one as a cross between silver and gold) with a piece of 
Cut & Dry foam to ink my Honeydoo stamp. 
[The palette you can see in the photo is old plastic packaging]


The stamp is very detailed, so on top of wood the impression 
is not perfect but I think this give the finished 
article a unique and personal touch.


Now for the side views...


and the end views...


and a zoom so you can get an idea of the shine...


Supplies:

Tissue box 
Black Gesso
Starlight paints (Black orchid, Platinum) 


Wow!  This is a gorgeous project
and would make a lovely gift.......
birthdays............mothers day.......

Thank you Craftyfield love the sophisticated air

'Till tomorrow

Mickie xx


Thursday, 20 October 2016

Pumpkin, Scarecrow and Halloween

Pumpkin, Scarecrow and Halloween


Hi there 

We're getting well into the season of mists now and
with all the fun of All Hallows Eve to look forward to

So with no more ado, here is another new DT Member


Louise Thomson


To get us in the mood for the new season, 
I have designed and made a scarecrow lantern 
using an old jam jar and a selection of crafty supplies.


First cut a piece of tissue to the correct size for your jar. 


Carefully blend the distress inks on the tissue using your blending tool. 
It is easiest to do this starting in the middle with the scattered straw
 and working outwards to the edges.


Once you are happy with the background colours, 
stamp your scene on to the tissue paper using the 
ground espresso distress ink.


Coat your jam jar in a light coating of 50/50 pva glue and water 
and roll it across the tissue paper scene to stick it down.


Give it a second very light coating of adhesive 
on the outside of the jar using a brush. 
This will also enable you to stick down any bits that need extra work. 

Apologies, at this point I got carried away and forgot to keep taking photographs…

Allow to dry completely before trimming any excess tissue 
from the top or bottom of the jar with a craft knife.

Use a dry paintbrush to add dabs of alchemy wax 
to the rim of the jar and in to the scene.

Make a loop of wire around the top of the jar and twist 
the ends together. Loop another piece through to make a 
handle and twist again!

Add a tea-light to your lantern to complete the look.


Materials used:

Distress inks; tumbled glass, scattered straw, carved pumpkin, lucky clover, ground espresso

Thank you Louise for a delightful
start to the season.  
I liked the re-cycling aspect too

See you all tomorrow

Mickie xx